
If you want your website to load quickly, rank well on search engines, and look professional across all devices, you need to ensure those files are in the exact right format and size.
Whether you are downloading massive, multi-megabyte RAW files from a premium gallery or grabbing quick free stock images for a daily social media post, converting and compressing them is a mandatory step for modern web design and digital publishing.
The Terminology: Licenses Matter
Before you even begin the process of downloading and converting files, it is absolutely essential to understand the licensing of the images you are working with. The terms surrounding digital imagery are often used interchangeably, but they have distinct legal and practical meanings. Failing to understand these can lead to copyright strikes, which severely damage your site’s trustworthiness and authority.
Free Photos and Free Stock Images
When we talk about free stock images or free photos, we are generally referring to images distributed under very permissive licenses, such as Creative Commons Zero (CC0). Platforms like Unsplash, Pexels, and Pixabay have popularized this model. Under a CC0 or similar permissive license, the original photographer or creator has waived their copyright. This means you are legally allowed to download, use, alter, crop, and convert the photos for both personal and commercial use without asking for explicit permission or providing attribution (though giving credit is always a nice gesture).
Royalty Free Images
The term royalty free images is frequently misunderstood. “Royalty-free” does not inherently mean “free to download.” Instead, it refers to a specific type of licensing model. When you acquire a royalty-free license (which you often have to pay for on sites like Shutterstock or Getty), it simply means that you can use the image multiple times across different projects without paying ongoing royalties to the creator for every single use.
However, the internet is now full of platforms that offer free royalty-free images—meaning you pay nothing to download them, and you owe no royalties upon use. Examples include Canva’s free tier and Vecteezy. As long as you are sourcing your visuals from legitimate, high-quality libraries, you are cleared to optimize and convert them to suit your project’s specific technical requirements.
The Impact of Image Size on Web Performance and SEO
Why go through the trouble of running your downloaded files through a converter? The answer lies in user experience and Search Engine Optimization (SEO).
When you download royalty free images from professional photographers, they often arrive as massive, high-resolution JPEGs or completely uncompressed PNGs. A single photo might be 5,000 pixels wide and weigh in at 8 to 15 megabytes. While these look incredible on a 4K editing monitor, uploading them directly to your website is one of the worst mistakes a digital publisher can make.
1. Core Web Vitals and Page Speed
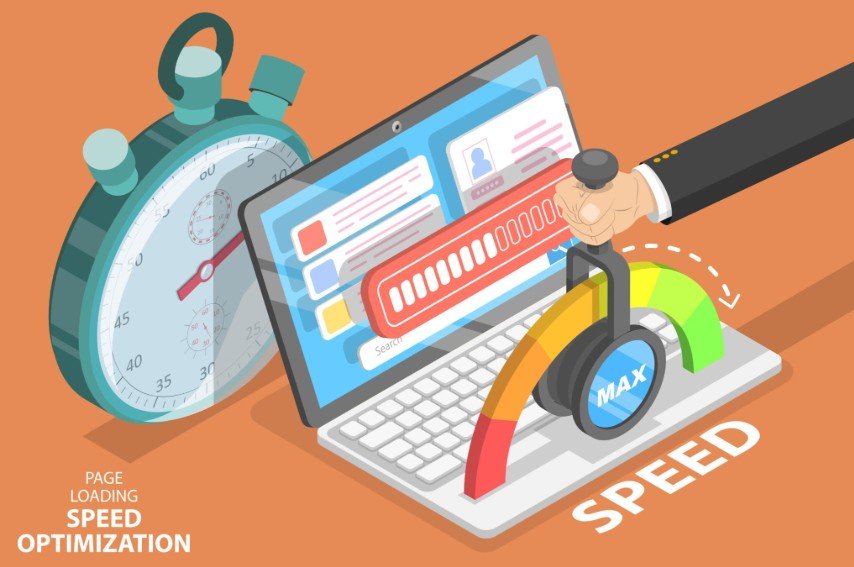
Search engines, particularly Google, place a massive emphasis on page speed as a ranking factor. Heavy, unoptimized images are almost always the primary culprit behind slow-loading websites. Google’s Core Web Vitals—a set of specific metrics related to speed, responsiveness, and visual stability—directly measure how fast the largest visual element on your screen loads (Largest Contentful Paint, or LCP). If you are using raw free photos without converting them to web-friendly formats, your LCP scores will plummet, dragging your search rankings down with them.
2. User Experience and Bounce Rates
Internet users are notoriously impatient. Studies consistently show that if a webpage takes longer than three seconds to load, the majority of mobile visitors will simply abandon the site. This metric is known as your “bounce rate.” High bounce rates signal to search engines that your page does not provide a good user experience, which negatively impacts your E-E-A-T profile. A site that feels slow and clunky is rarely perceived as authoritative or trustworthy.
3. Server Bandwidth and Hosting Costs
Every time a user visits your webpage, their browser has to download the images on that page. If you have ten unoptimized free stock images that are 5MB each, that is 50MB of data per visitor. If your article goes viral, the sheer volume of data transfer can overwhelm your hosting server, leading to crashes or massive bandwidth overage fees.
Why You Need a Converter for Stock Photos
A dedicated image converter solves all of the performance issues mentioned above by acting as a bridge between the high-quality source file you downloaded and the highly optimized file your website actually needs.
Stock photography libraries prioritize providing the highest possible resolution so that graphic designers can use the images for print media, billboards, and high-end digital art. Web designers, on the other hand, need lightweight efficiency.
A good converter allows you to achieve three vital transformations:
Format Shifting: Moving from older, heavier formats (like uncompressed PNG or standard JPEG) to next-generation formats (like WebP or AVIF) which offer superior compression.
Dimensional Resizing: Scaling a 6000×4000 pixel image down to a much more manageable 1200×800 pixel size that fits perfectly into your blog’s layout.
Data Compression: Stripping out unnecessary metadata (like the camera model or GPS coordinates saved by the photographer) and applying lossy or lossless compression algorithms to reduce the file size.
The Best Formats to Convert Your Images Into
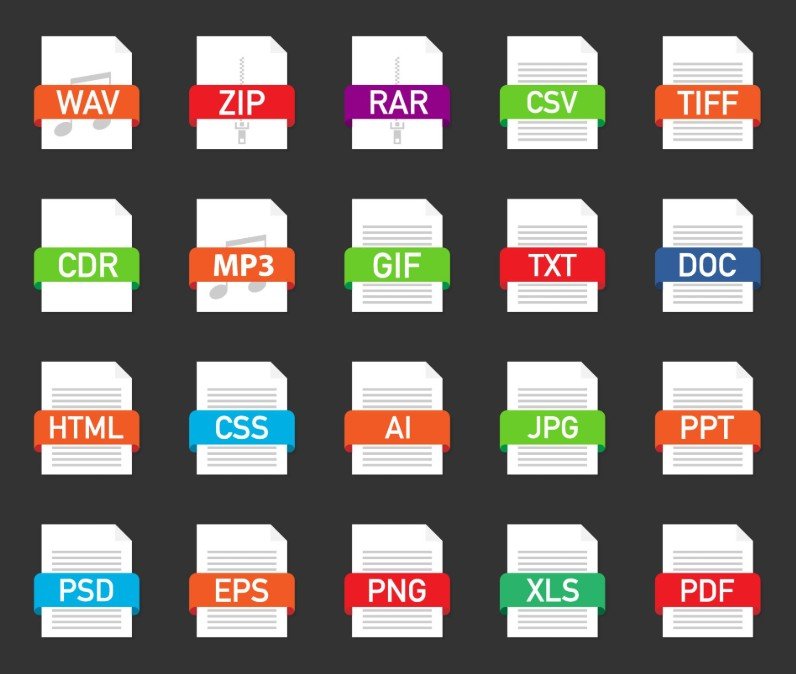
When you upload a file into an online converter, you will be presented with a multitude of output options. Understanding which format to choose is critical to maintaining the visual integrity of your free photos while minimizing file size.
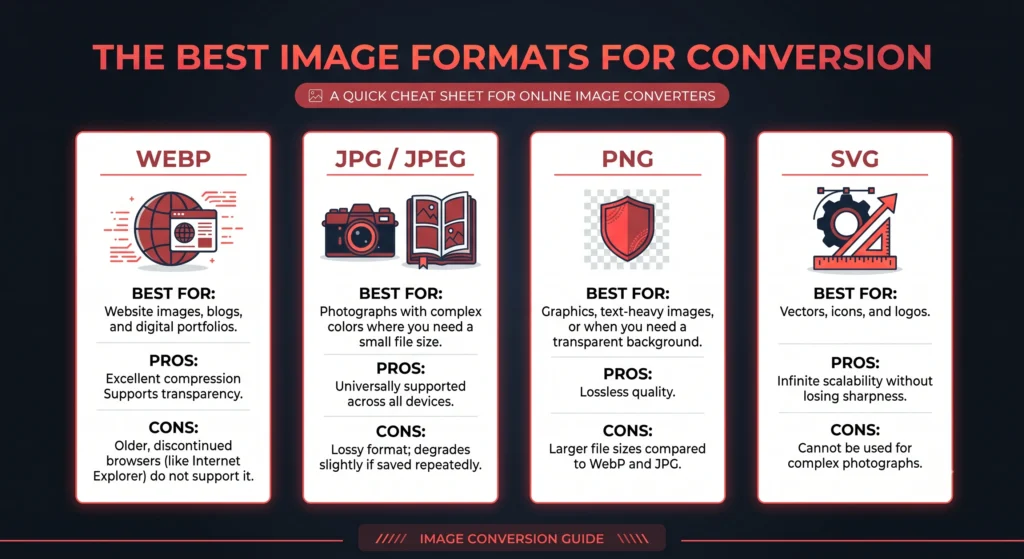
Best Practices for Optimizing Royalty Free Images
To get the absolute best results when processing your visuals, treat image conversion as a mandatory step in your publishing workflow. Here is a step-by-step guide to doing it right:
Step 1: Source the Right Image
Begin by finding your ideal visual on a reputable platform that offers free stock images. Look for images that are not just visually appealing, but relevant to your content. Contextual relevance is a key part of SEO; an image that perfectly illustrates your point keeps users on the page longer.
Step 2: Resize the Dimensions Before Compressing
Before you worry about file size, look at the physical dimensions of the image. If the content area of your blog is only 800 pixels wide, there is absolutely zero benefit to uploading an image that is 4000 pixels wide. Use your converter or a basic photo editor to resize the width of the image to match your maximum display size. This single step will drastically reduce the file weight before compression even begins.
Step 3: Choose Your Compression Level
When converting to JPG or WebP, most tools will offer a “quality” slider. Do not leave this at 100%. For web use, a quality setting between 75% and 85% is the sweet spot. At this level, the file size will drop dramatically, but the human eye will not be able to detect any loss of quality or pixelation.
Step 4: Rename Your Files for SEO
Before uploading the newly converted file to your website, take a moment to rename it. A file named DSC_99482.webp tells search engines nothing about the content. Rename it to clearly describe the image using hyphens, such as using-image-converter-for-web-design.webp. This helps search engines understand the context of the image, boosting your chances of appearing in Google Image Search.
Step 5: Always Include Alt Text
Once the image is on your site, fill out the Alternative (Alt) Text attribute. Alt text is crucial for accessibility—it allows screen readers to describe the image to visually impaired users. It also serves as a strong SEO signal, reinforcing the topical relevance of your page. Be descriptive and naturally include your keywords if they fit the visual.
Top Free Image Converters to Use
You do not need expensive software to optimize your images. There are numerous free, browser-based tools that handle the heavy lifting effortlessly.
The Fast Test & 100% Free unlimited
Squoosh.app: Created by Google Chrome Labs, this is arguably the best manual converter for web developers. It allows you to drag and drop an image, test different formats (like WebP and AVIF), adjust compression sliders, and see a real-time before-and-after comparison of both quality and file size.
CloudConvert: If you need to convert dozens of free photos at once, CloudConvert handles batch processing beautifully. It supports over 200 formats and allows you to strip out metadata in bulk.
TinyPNG / TinyJPG: Despite the name, this tool handles WebP as well. It utilizes smart lossy compression techniques to reduce the file size of your royalty free images with zero manual tweaking required. Just upload, let it compress, and download.
Canva: While primarily a design tool, Canva serves as an excellent integrated solution. You can select free stock images directly from their library, crop them, and export them as highly compressed JPGs or WebP files all in one workflow.
Conclusion
Incorporating high-quality visuals into your content is essential, but ignoring the technical side of image management can actively harm your website’s performance. By establishing a routine where every piece of visual media—whether they are free photos, premium graphics, or royalty free images—runs through a dedicated converter, you ensure that your site remains lightning-fast. A fast, beautifully illustrated website provides an excellent user experience, solidifies your authority in your niche, and ultimately signals to search engines that your content is trustworthy and worth ranking at the top.